Restore Old Photos Easily with Luminar Neo

Photo restoration starts when you pick up a faded print from a box or album and realize you can barely see a face that once meant everything to someone. Creases run through smiles. Colors have drifted. The paper feels fragile, but tools like Luminar Neo are here to bring your precious memories back to life.
You do not need to be a picture restoration expert. The software runs on Windows and macOS, works as a standalone app or a plugin, and offers a range of AI-powered tools that repair damage, balance light, and improve detail.
In this guide, we will walk you through this complex and exciting process step by step. You will see how to apply smart tools, correct the most common defects, and fix old photos just enough so the story in them becomes clear again.
Step 1: First Pass with AI
Once you open Luminar Neo, import your image through the Catalog panel (Add Photos / Add Folder). The image becomes part of your library, allowing you to easily revisit it later. After importing, switch to the Edit tab.
Here, you can find an AI-based tool to restore old photos. This feature analyzes your old pictures and applies multiple intelligent adjustments simultaneously. You can use it to detect and reduce scratches, dust, fading, low contrast, and surface noise. It also balances exposure, restores missing tonal depth, and enhances facial details when present.
Once the AI finishes the initial restoration, review the result. If the photo looks cleaner, brighter, and easier to read, save a version. If the picture looks overprocessed, dial back and decrease the tool’s intensity. AI photo restoration in Luminar Neo doesn’t replace your choices; it speeds up the boring parts. The AI-based first rescue will provide a smart baseline for more sophisticated manual edits we will describe below.
Step 2: Repairing Scratches and Spots
After the AI has handled the general cleanup, you can refine the areas it missed. In Luminar Neo, start with the Erase tool. It analyzes the nearby pixels and rebuilds the area to make it look natural again. Address the most obvious inconsistencies in a 200-300% zoom. Use a slightly larger brush for smooth areas like skies or walls. Faces, hair, and clothing require smaller brushes for smoother blending.
Can damaged photos be repaired if there are complex elements like missing bits of a jacket or background? Yes, if you learn to work with a cloning tool. Set a source point from a clean area, then carefully copy that texture over the flaw in short strokes. After a first pass, toggle the preview on and off. If you can’t immediately see where you worked, you can proceed to lighting and detail repair.
Step 3: Shaping Lighting and Detail
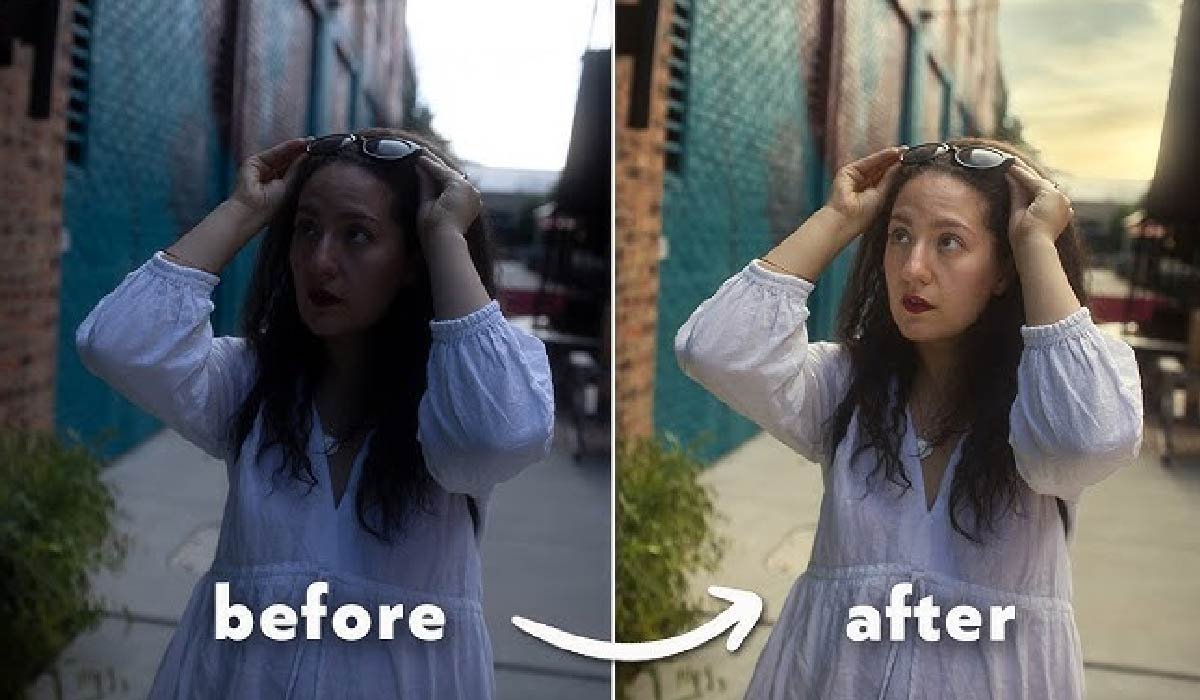
Once the surface imperfections are gone, turn your attention to the lighting. Knowing how to restore old photos usually includes natural-looking and cohesive lighting adjustments. In Luminar Neo, tools like Develop let you adjust exposure, highlights, shadows, and blacks in a controlled way. Move each slider slowly. Bring back detail in dark jackets by lifting shadows a little. Bright areas like white clothes or light blue skies can look washed out. To fix it, drop down the highlights selectively in these areas.
Understanding how to fix old photos means being able to restore all the lost details and make them sharp and clear, regardless of time. In Luminar Neo, you can use Structure or Detail to make edges, hair, and textures easier to read. If grain from the scan becomes too strong, apply gentle noise reduction before sharpening. These two tools have opposite goals, so keep the balance. Your picture should look neither too grainy nor oversmoothed. When you are happy with the overall look, save a new version and move on to tonal fixes.
Step 4: Color Refinements
Old prints can turn yellow, green, or magenta over time. If the AI did not cope with this issue as you intended, move on to the White Balance control in Luminar Neo. If the image looks too warm and orange, slide toward cooler tones. If it looks too blue, slide toward warm. Watch neutral (white or gray) parts of your image and stop when they look believable.
HSL (Hue, Saturation, Luminance) and Color Harmony tools allow users to adjust colors one group at a time. You can gently increase the saturation of skin tones while keeping the background calm. Or you can darken a bright, distracting wall so the viewer’s eye goes back to the people. You can also use these tools for black-and-white pictures, focusing on the contrasts. Deepen the shadows a bit, lift the midtones, and keep highlights under control.
Once your photo is easy to read and the mood is preserved, you can save it in your preferred file format, print it, or share it online.
Conclusion
Repairing damaged photos is easier than people think. Whether you restore a family portrait, a travel snapshot, or a picture you thought was too damaged to save, the process becomes faster and more intuitive with the right tools. Take one photo, open Luminar Neo, and start bringing your memories back into the light!


